Difference between revisions of "Orchard Housing"
(→Accessing Configuration Details) |
(→Orchard Housing Version 2010A07_18) |
||
| Line 150: | Line 150: | ||
==Orchard Housing Version 2010A07_18== | ==Orchard Housing Version 2010A07_18== | ||
| + | |||
| + | There are differences between this and earlier versions of browser-based Orchard Housing. The screenshots below describe how to navigate through to calling Keyfax and handling the results. | ||
| + | |||
| + | [[File:OH1.png]] | ||
| + | |||
| + | Double click on New Contact: | ||
| + | |||
| + | [[File:OH2.png]] | ||
| + | |||
| + | Click the magnifying glass next to the Case Type option then chose Repairs Optitime: | ||
| + | |||
| + | [[File:OH3.png]] | ||
| + | |||
| + | Enter an address: | ||
| + | |||
| + | [[File:OH4.png]] | ||
| + | |||
| + | Double click the address required: | ||
| + | |||
| + | [[File:OH5.png]] | ||
| + | |||
| + | Click Create case and Contact: | ||
| + | |||
| + | [[File:OH6.png]] | ||
| + | |||
| + | Select Telephone and No to Communal Repair: | ||
| + | |||
| + | [[File:OH7.png]] | ||
| + | |||
| + | Click Launch Keyfax | ||
| + | |||
| + | [[File:OH8.png]] | ||
| + | |||
| + | On return from Keyfax, click Retrieve Keyfax Data and this will populate fields accordingly. | ||
==Launching Keyfax== | ==Launching Keyfax== | ||
==Known Issues== | ==Known Issues== | ||
Revision as of 11:34, 31 October 2018
Contents
General
Orchard Housing supply two housing management systems:
- Orchard Housing GUI (previously Archouse)
- Orchard Housing WEB (previously Archouse Plus)
This page describes the Orchard Housing WEB product, from now on OH . This integration operates via a go-between program. When ready to run a Repair Diagnostic, OH will launch the executable KF_arcHouse.EXE.
The program KF_arcHouse.EXE is a component of the Keyfax Client, Omfax Systems Ltd supports it. Should any error messages carrying KF_arcHouse.exe in the title appear, these should be referred to Omfax Systems Support.
Within OH, it is possible to configure the command-line arguments that are passed to KF_arcHouse.EXE (for further information on how to define these arguments please contact Orchard Information Systems or see the Keyfax System Administration Guide).
Command-Line Arguments
The following arguments can be supplied:
| Item | Argument | Description |
|---|---|---|
| USER CODE | /UC: | Unique user ID which must be defined in Keyfax (MANDATORY ARGUMENT) |
| TENANT DETAILS | /TD: | Name and address comprising Comma separated variables |
| TENANT ID | /TI: | Tenant ID (Note: only supported in Keyfax Client version 3.2.0.37 or greater) |
| TENANCY TYPE | /TT: | This defines which Repair Diagnostic script set to use |
| ASSET ID | /AI: | Optional Asset identifier |
| COMPANY | /CO: | Determines which instance of Keyfax to use. If omitted, the default company is used |
| FILENAME | /FN: | Location of Export XML filename. |
| XSLT TRANSFORMATION FILE | /XS: | Location of the file used for XSLT transformation of export XML. Note that this is not normally a requirement as this is a historical legacy since Inter•View and the earlier KEYFAXI32.DLL version 3.2.0.32 transformation is performed server-side. |
| DEBUG SWITCH | /DB: | Defines the debug level. Please avoid setting any value for this parameter unless Support has been advised. Values are '1' (debug to screen) or '2' (debug to file DEBUG.LOG). |
An example call might be:
/UC:MJames /TD:"Harry Smith, 1 The Street, Sometown" /TT:1 /AI:12345AR /CO:CO_001 /FN:"C:\Program Files\Keyfax\Export.xml" /XS:"C:\Program Files\Keyfax\Export.xsl"
Any arguments containing whitespace must be enclosed in quotes.
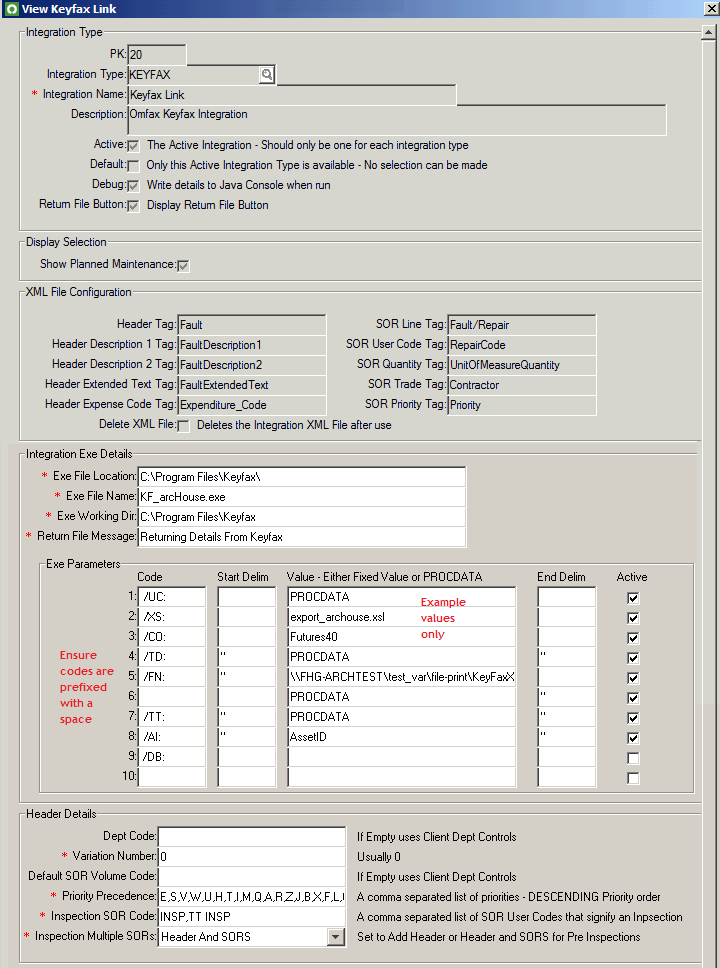
The configuration page within OH is as follows
These settings will typically be established and maintained by Orchard Housing, however, there are two items worthy of note here:
- Delete XML File checkbox; to housekeep after each repair is raised, switch this option ON, otherwise you could end up with thousands of files!
- /FN: Parameter; this is the filename path to which Orchard appends the user id and datetime to make it unique when the workflow work item is created.
Processing
In essence, the program will launch a Keyfax Repair Diagnostic which will delete any existing export XML file. Once complete will it generate a new Export.XML file (using the optional XSLT transformation), then terminate. On detecting the export XML file, OH regains focus and the works order etc is created.
Installation
The KF_arcHouse.exe program is delivered as part of the Keyfax Client Installation (v3.2.0.22 or greater) or Keyfax Administrator Tools version 3.2.0.32 or greater (the latter also deploys the Keyfax Client components). The installation configuration file (KF32install.INI) must contain the following declaration:
HostApplication=arcHouse_Plus
This setting is used for both Archouse Plus and Orchard Housing).
Transformation
The initial implementation performs the following transformation:
- FaultText 1,50 is moved to FaultDescription1
- FaultText 51,50 is moved to FaultDescription2
- FaultText 101,150 is moved to FaultExtendedText
- Only output 1st Fault will accumulate Repair and Advice nodes from all Faults
- Job descriptions for all faults concatenated in FaultDescription1, 2 and FaultExtendedText
Ensure that the target folder used for creating the Export XML is exclusive to each user and has Write permissions.
Screenshots
Note that this describes earlier versions of Orchard Housing. For versions since and including 2010A07_18, click here.
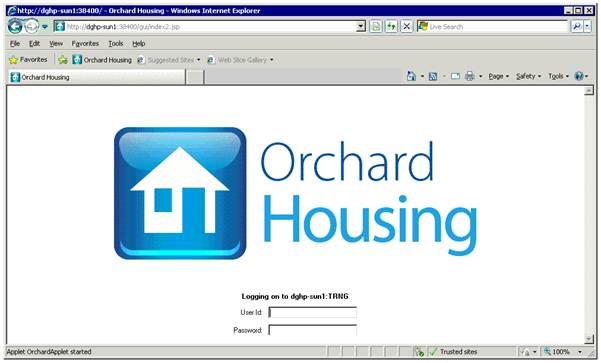
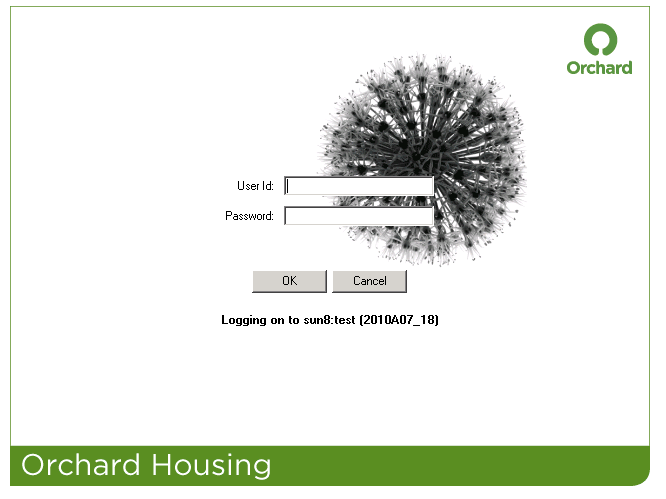
Figure 1 - Login Page
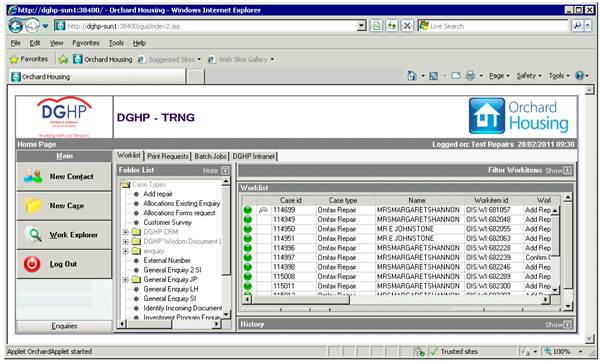
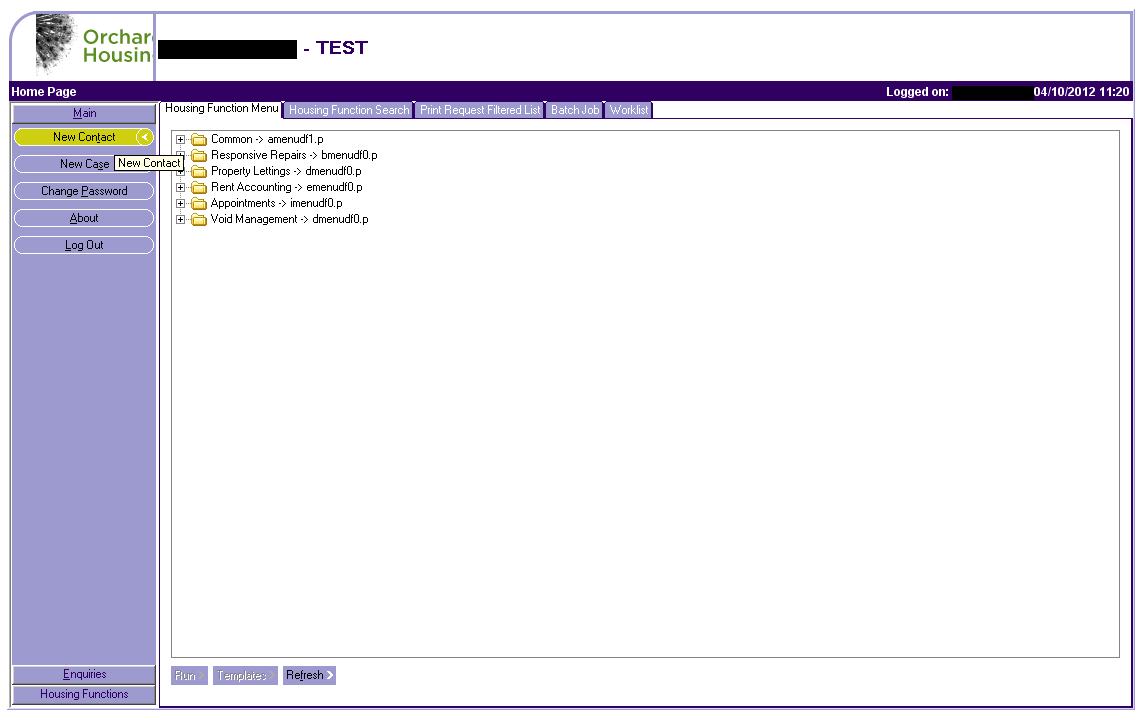
Figure 2 - Select 'New Contact'
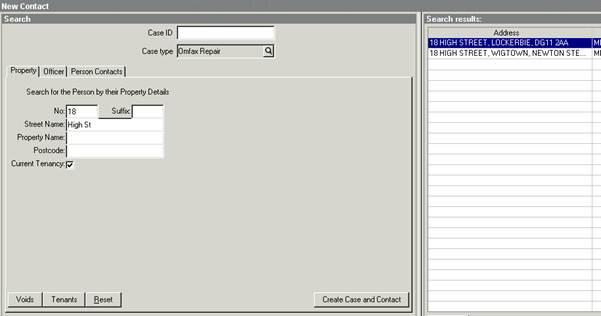
Figure 3 - Select Case type of 'Omfax Repair' then enter an address to lookup
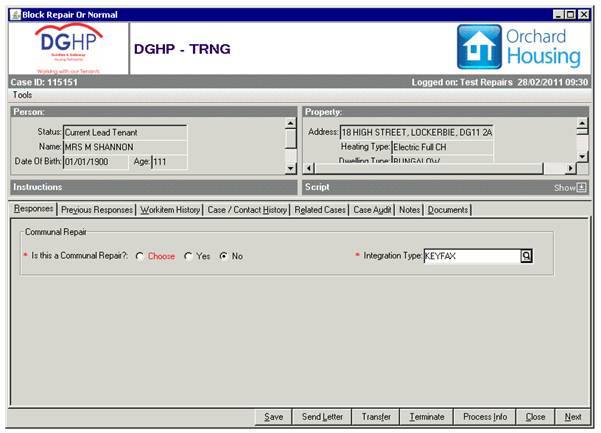
Figure 4 - Select 'No' then choose Integration Type of 'KEYFAX'
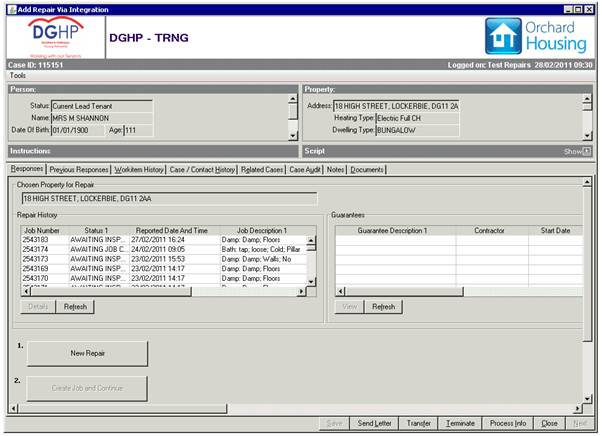
Figure 5 - Click 'New Repair'
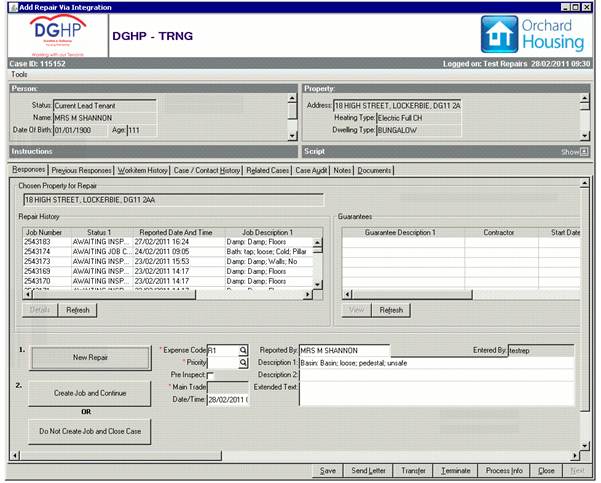
Figure 6 - On return details are populated as below
Accessing Configuration Details
The Keyfax Link page inside Orchard Housing contains all the parameters that govern the way the Keyfax integration works.
Please do not modify any configuration parameters without the approval of Orchard Housing and/or Omfax Systems representatives.
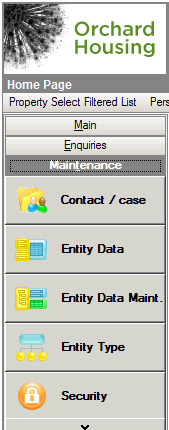
To access this page, you need to log on to Orchard Housing then go to the Maintenance Launchpad button and choose Entity Data:
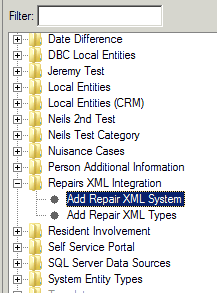
Select the Entity Add Repair XML System:
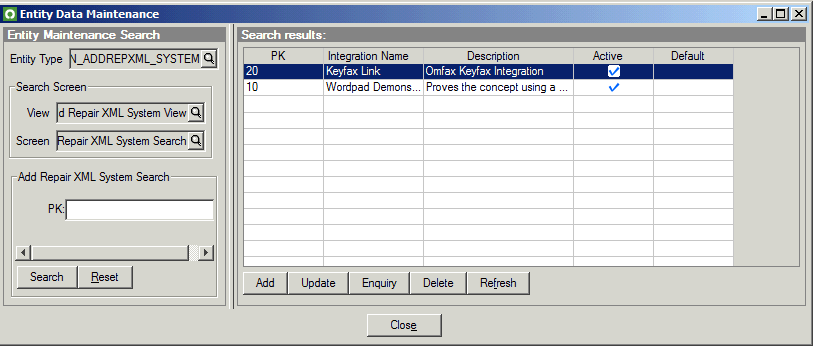
Select the Search button and you should see two results. Select the Keyfax Link and then the Enquiry button:
You will then see the form below:
If you are having problems launching Keyfax, try changing the /DB: (DeBug) setting to '1' and making it Active (no start/end delimiters are required). This enables debugging which will cause a number of message boxes to appear in the process leading up to the displaying of the Keyfax pop-up window (it will be useful to note or screengrab these messages for support purposes). If no message boxes appear, either the Keyfax Client is not installed or there is a problem on the host system.
By setting the /DB: parameter to '2', this will output trace messages to a file named c:\program files (x86)\Keyfax\DEBUG.LOG
Orchard Housing Version 2010A07_18
There are differences between this and earlier versions of browser-based Orchard Housing. The screenshots below describe how to navigate through to calling Keyfax and handling the results.
Double click on New Contact:
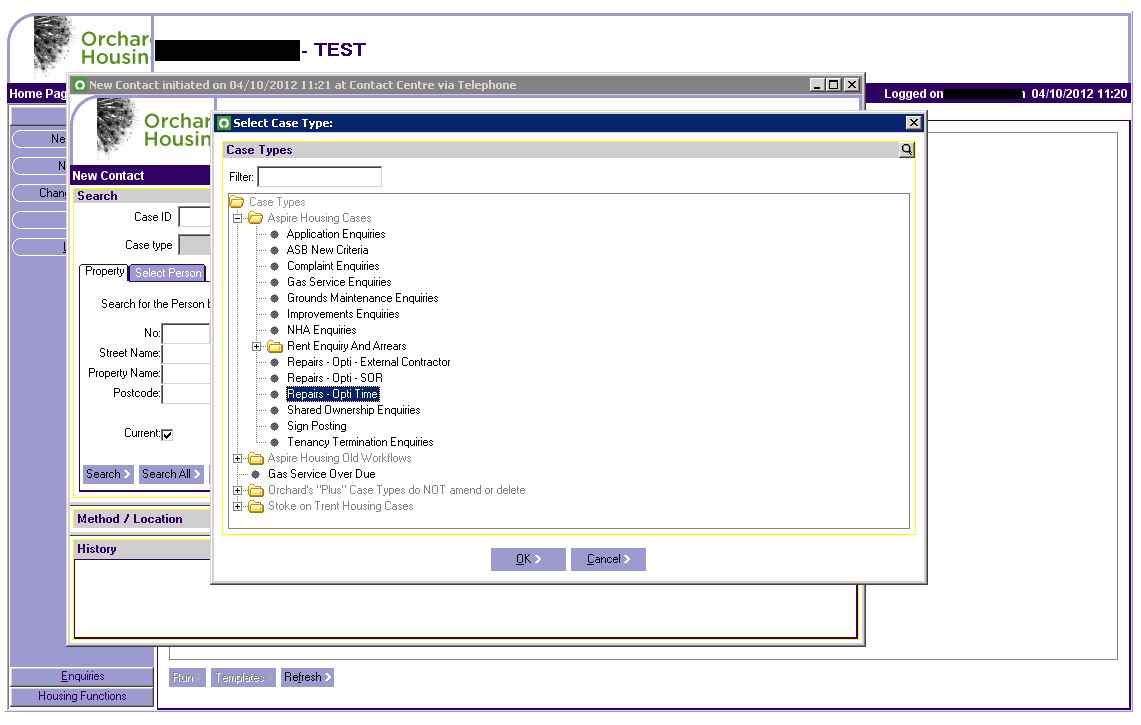
Click the magnifying glass next to the Case Type option then chose Repairs Optitime:
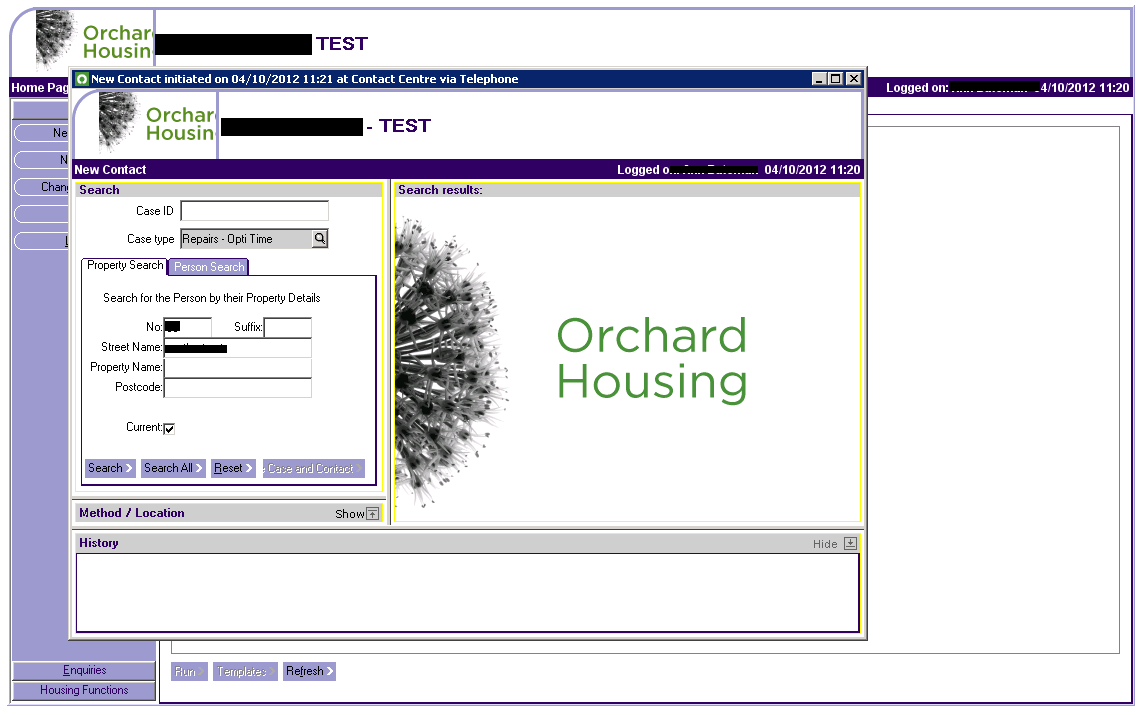
Enter an address:
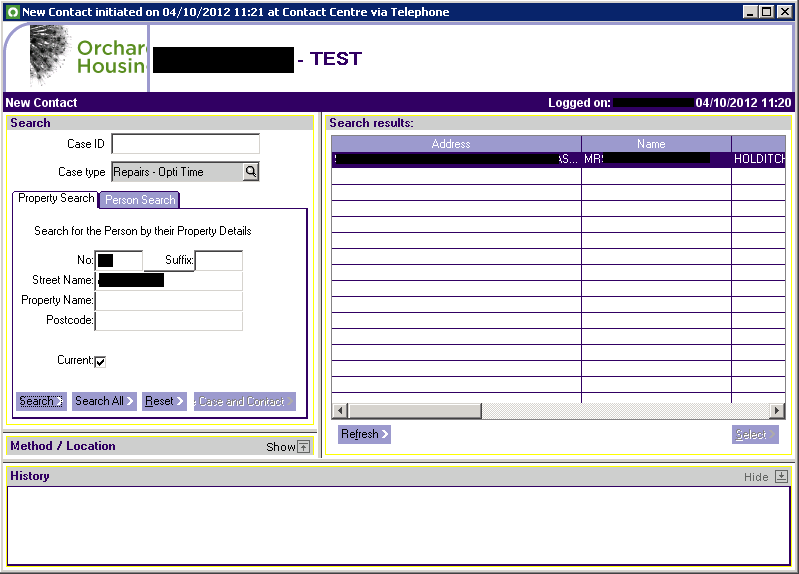
Double click the address required:
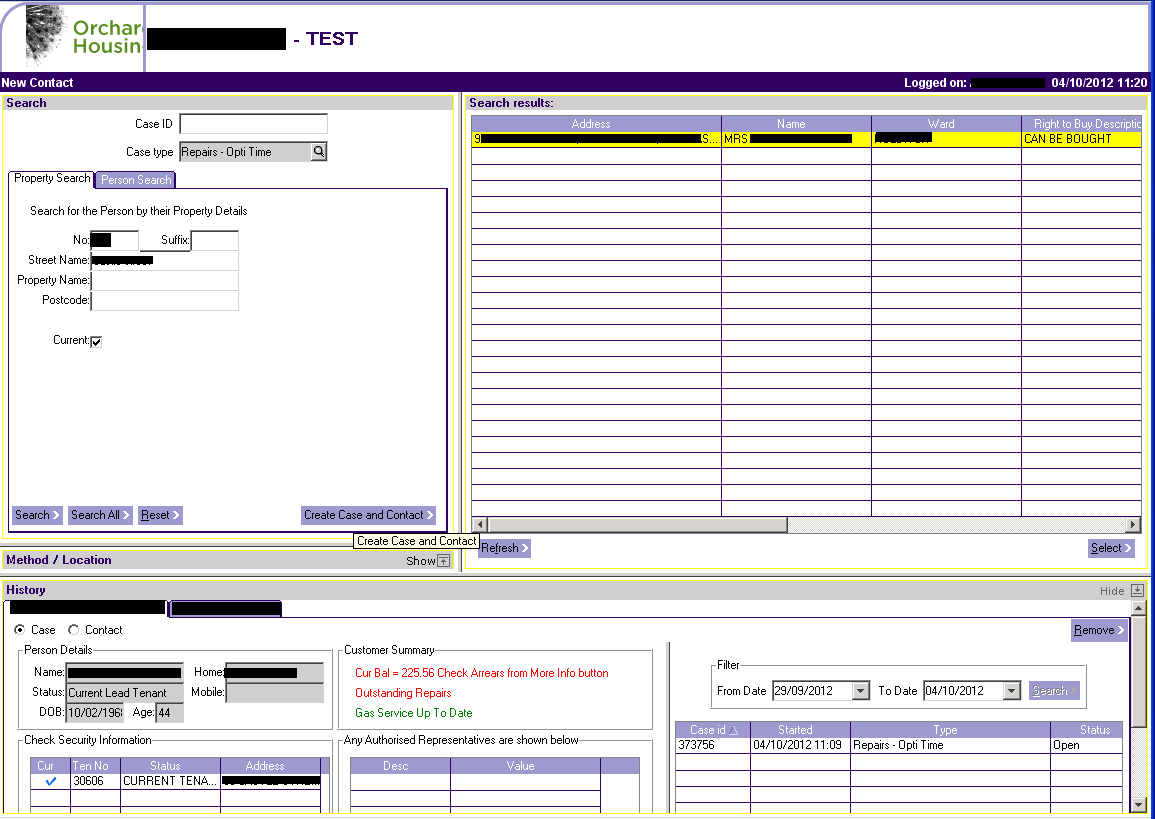
Click Create case and Contact:
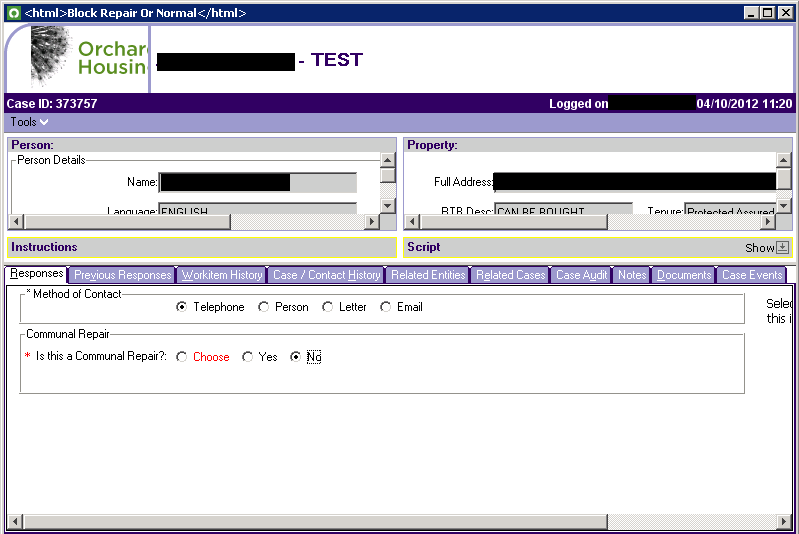
Select Telephone and No to Communal Repair:
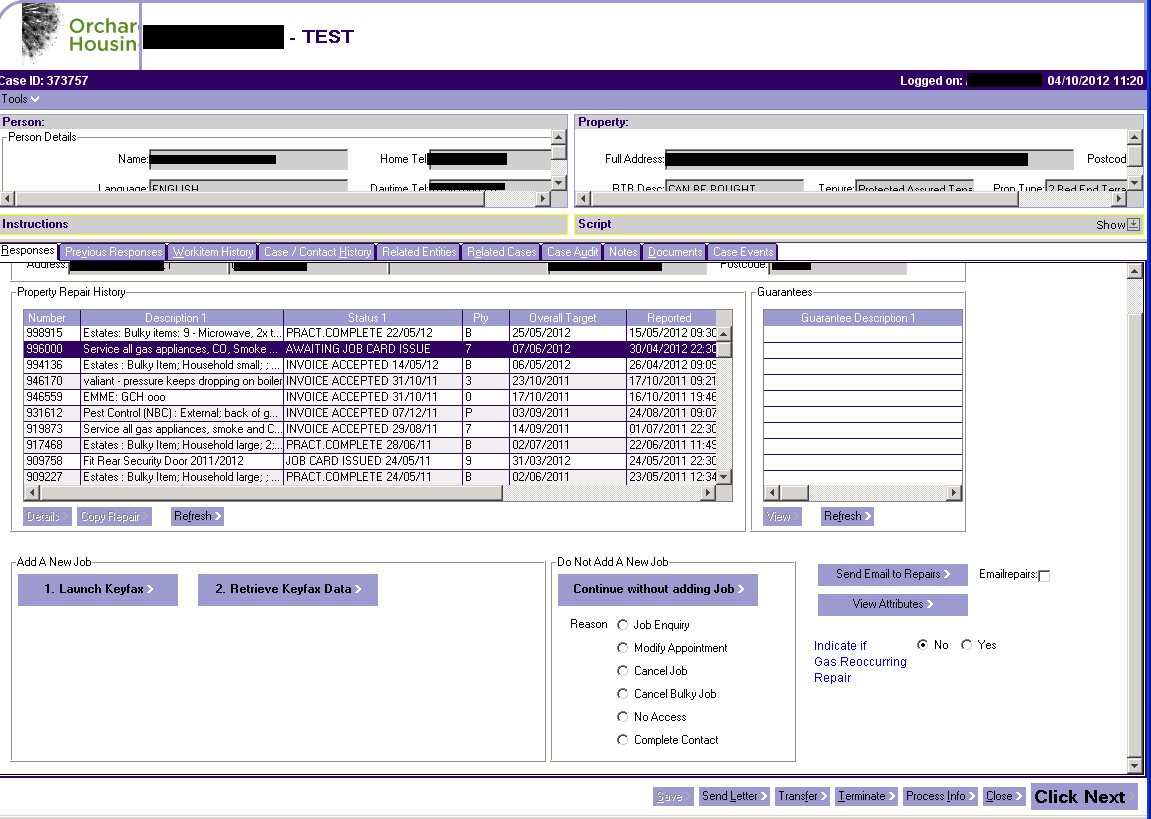
Click Launch Keyfax
On return from Keyfax, click Retrieve Keyfax Data and this will populate fields accordingly.
